Category Archives: Techniques

The ceramic recreations of Munemi Yorigami


re-creations - Munemi Yorigami symmetrical sculpture

Munemi Yorigami


Breaking from Japanese ceramic tradition – Munemi Yorigami & Chieko Yorigami


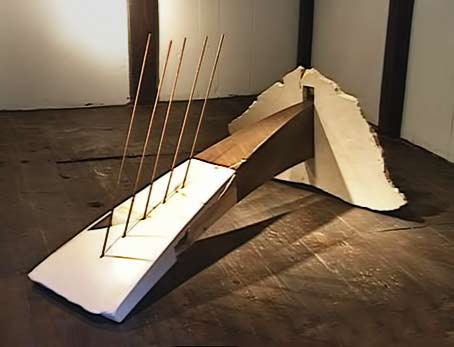
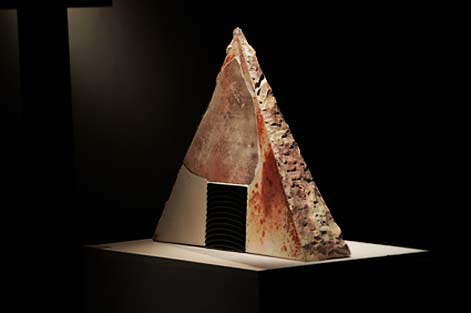
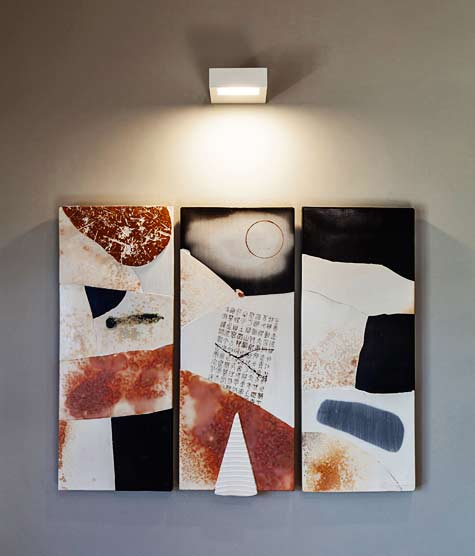
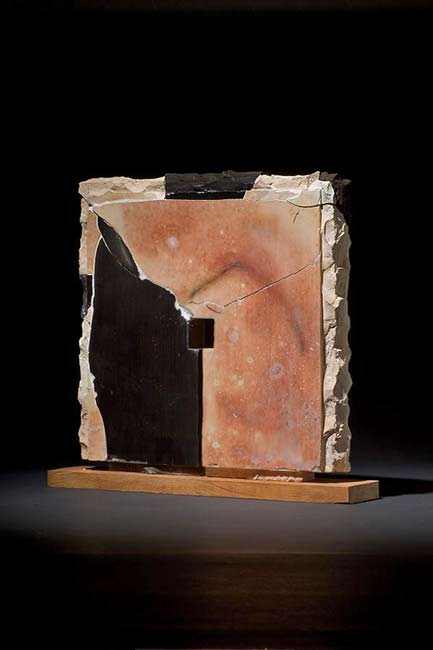
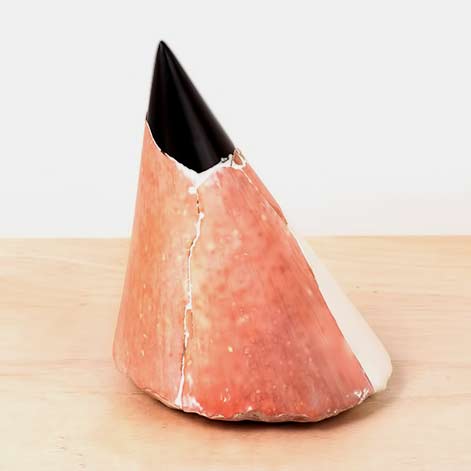
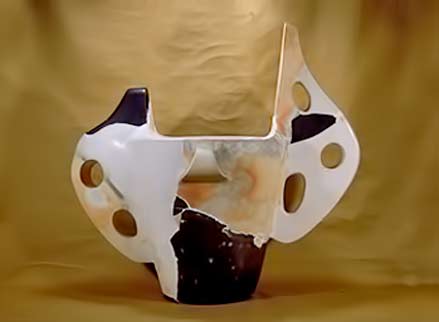
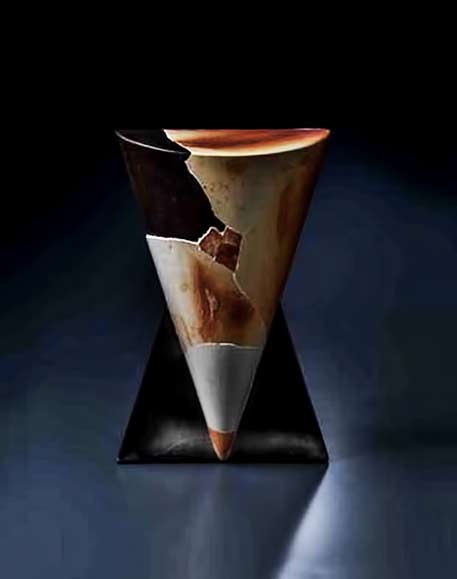
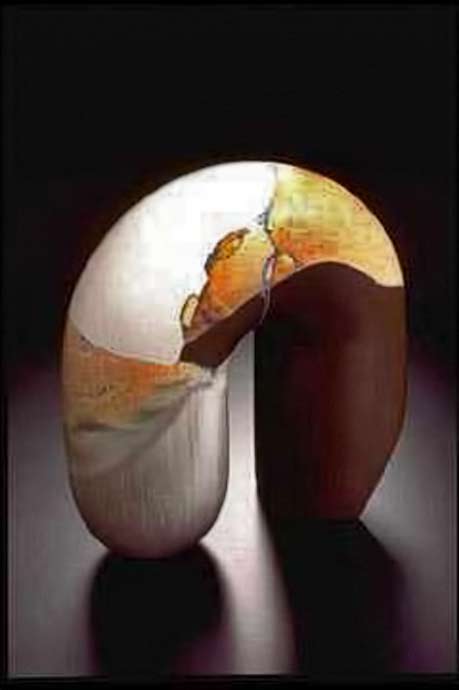
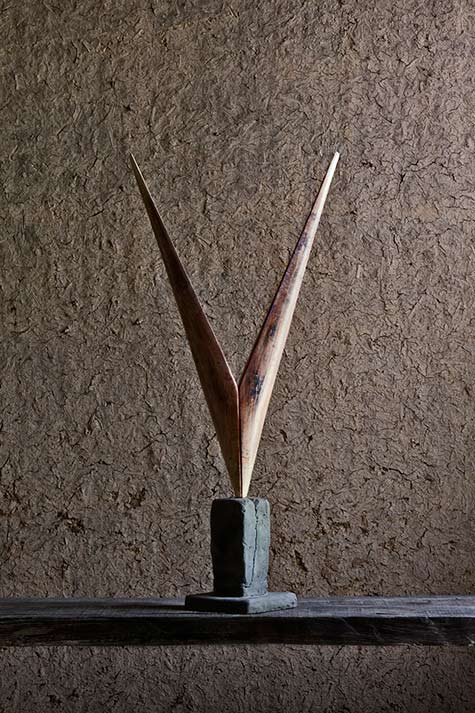
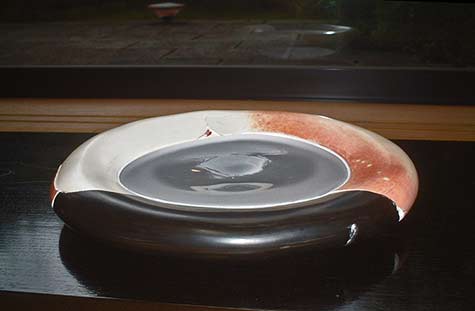
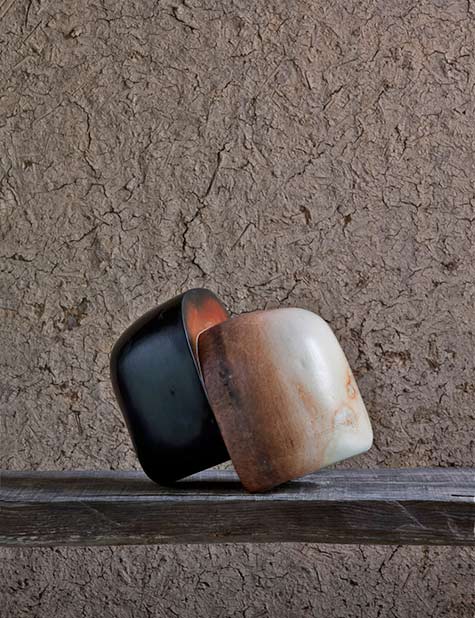
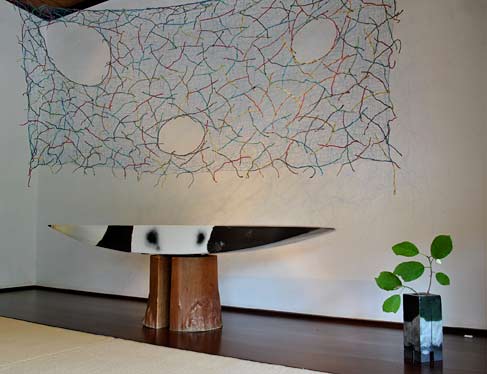
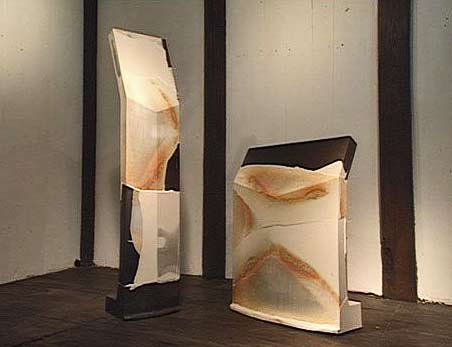
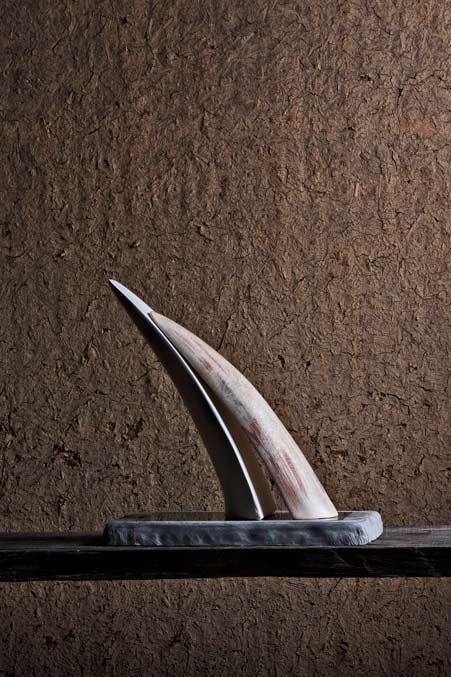
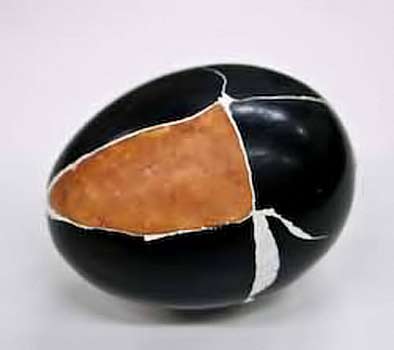
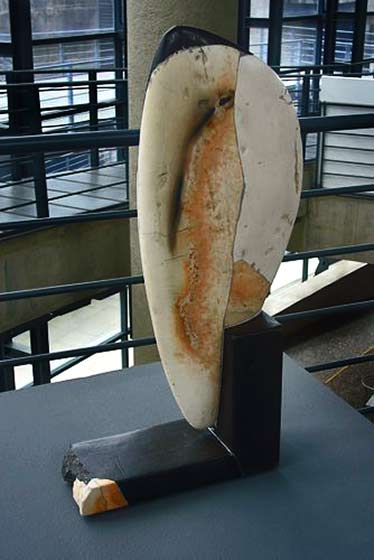
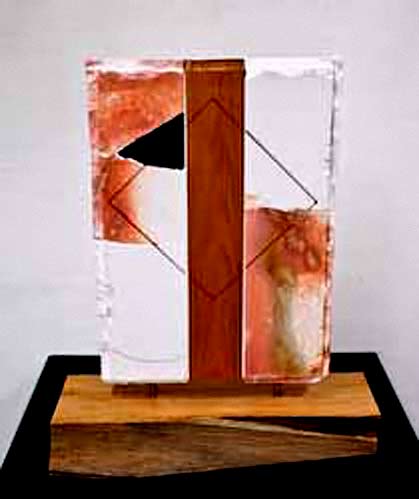
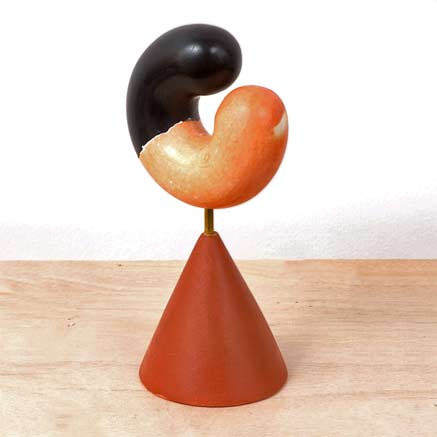
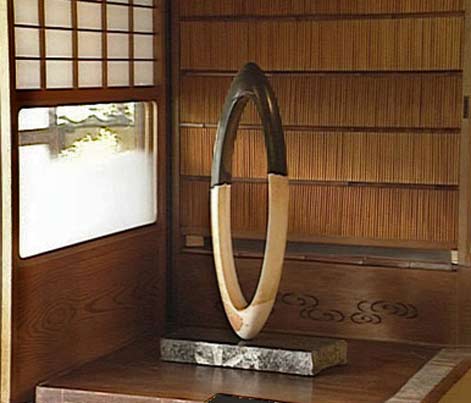
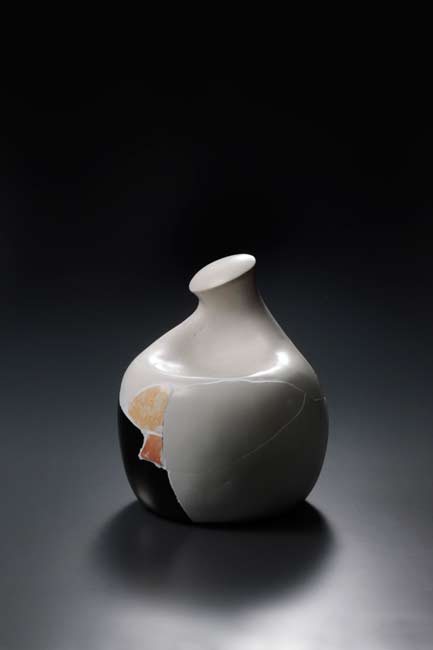
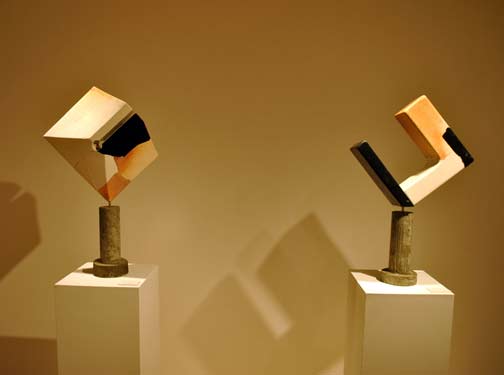
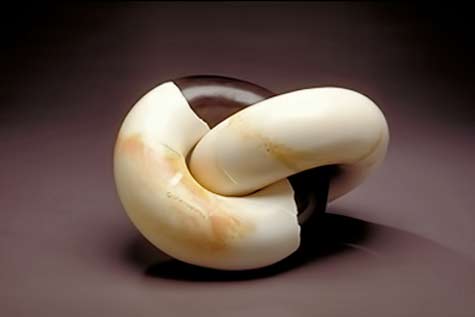
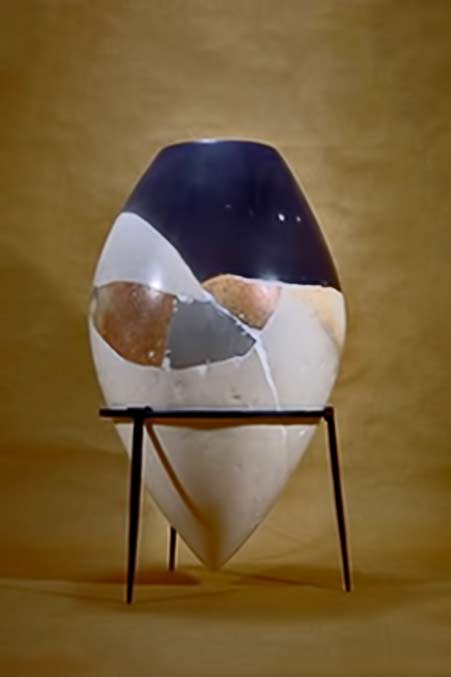
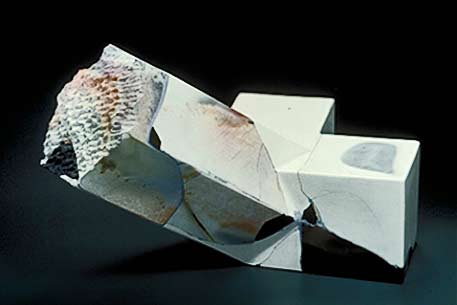
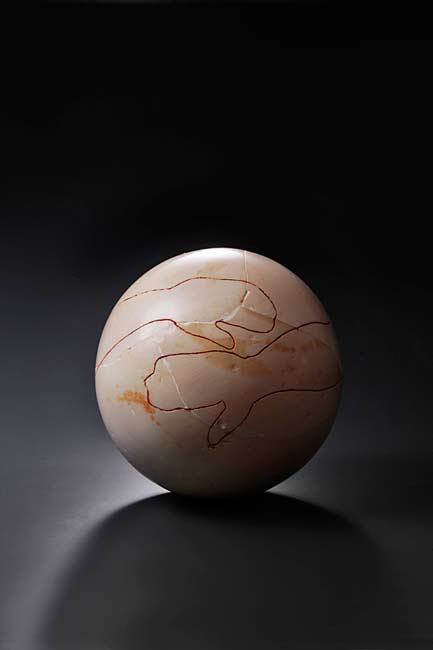
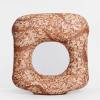
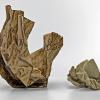
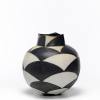
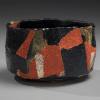
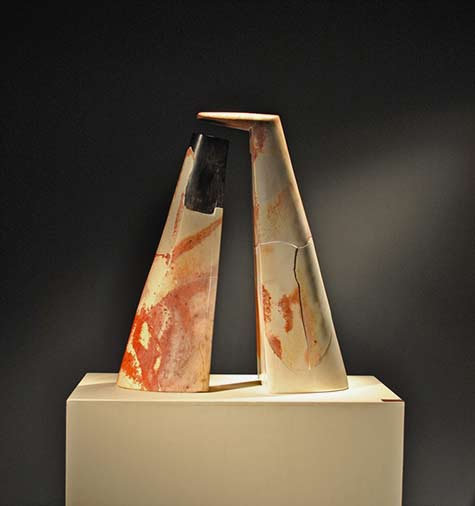
Yorigami finds inspiration in the resurrection of broken ceramic pieces which rise like a phoenix from his kiln. He immensely enjoys the unpredictable abstractions and reconstruction to the modified form. His exploration of the opposing forces of control and unpredictability along with destruction and recreation, leading to the modeling of a new ‘whole’, has been a major influence in his direction in ceramics for several decades. By breaking the form, Yorigami believes he is exposing the ‘heart and soul’ of the clay, which leads to revealing its intrinsic nature. He feels it highlights the hazards of transforming clay during its passage through fire and the risks in kiln baking and the inherent vulnerability to breakage.
The modification of the unexpected results is enhanced by the choice of different glazes and firing for the pieces before reassembly, and Yorigami describes this process of manipulating the clay elements as “transferring memory”. Yorigami rebuilds his sculptures in a vivid patchwork based on the four colours of white, black, ochre and ivory and builds his sculptural pieces from dolomite or porcelain clay with a combination of slabbing, coiling and press-moulding techniques.
Yorigami was born into a family of ceramicists in Kyoto and his father specialized in making teaware. In the late 1940‘s, Yagi Kazuo formed the Sodeisha group which represented avant-garde ideals and looking beyond Japanese ceramic traditions. Yorigami joined this group and was influenced by Kazuo, which contributed to his break from the established ceramic arts.
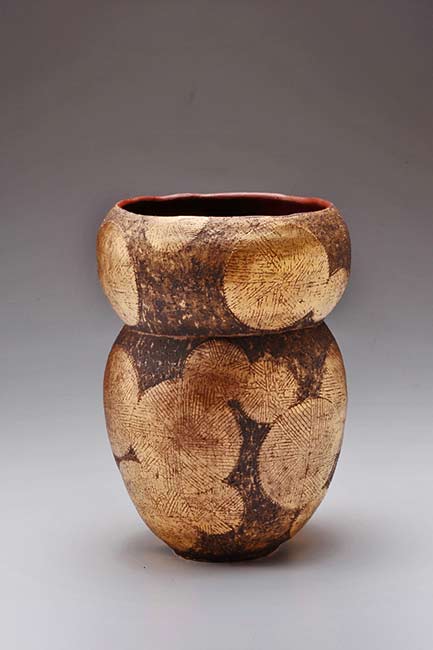
Yorigami claims that ‘when confronted with clay, it is our instinct to want to conquer it’. He took this to another level where his desire to conquer the baked clay with the re-arrangement of its solid form. Included in the images here is some ceramic pieces by his wife Chieko Yorigami.


Website


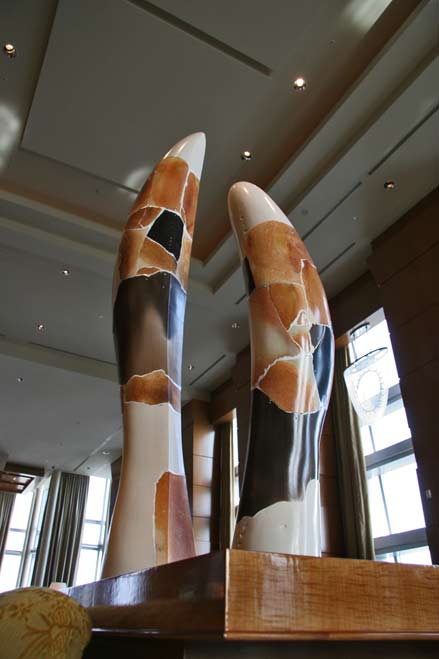
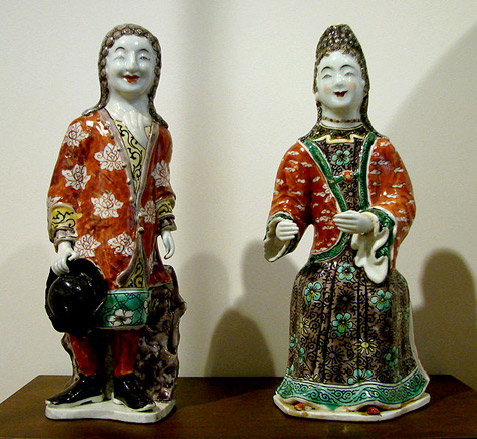
the-delightful-days-A pair of recreation sculptures by munemi-yorigami

Re-constructed ceramic sculptures – ‘The Delightful Days’ – Munemi Yorigami


The pieces are baked using three methodologies. The black ceramics are fired in a kiln at a temperature which is elevated to 900℃, then naturally lowered to 500~600℃. I then take fully soaked pine tree leaves and pour them at the opening of the kiln to seal it and smoke the black ceramics. As for white ceramics, it’s burned at 900℃ either under oxidation or reduction atmosphere. Oxidation firing will give an ivory color, while reduction firing will give an even whiter color. With the ceramics kiln used for the orange colour, I take the broken pieces and add vermiculite, and start the reduction firing at 800℃, and smoke burn at 900℃. I re-attach the pieces with adhesives to regenerate its original shape, and finally add plaster to the seam to accomplish the artwork.


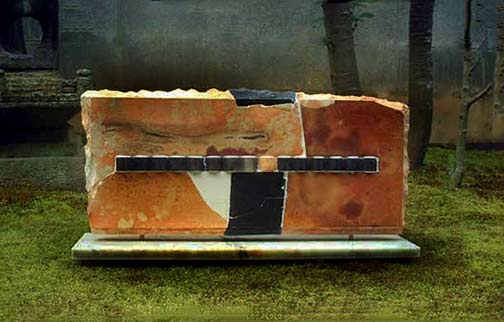
recreations-outdoor-sculpture-munemi-yorigami

Outdoor Re-creation sculpture – Munemi Yorigami


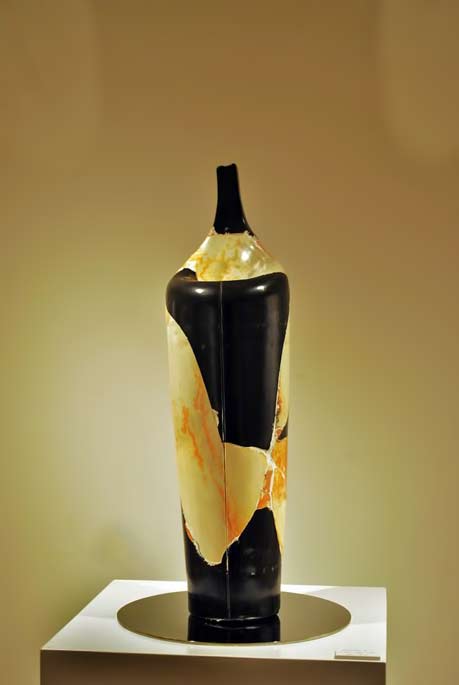
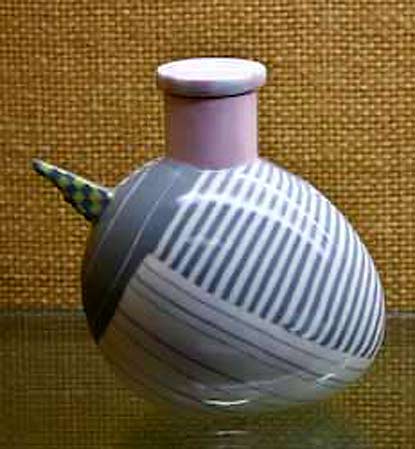
recreations-ceramic-bottle-munemi-yorigami

Re-creation Bottle – Munemi Yorigami


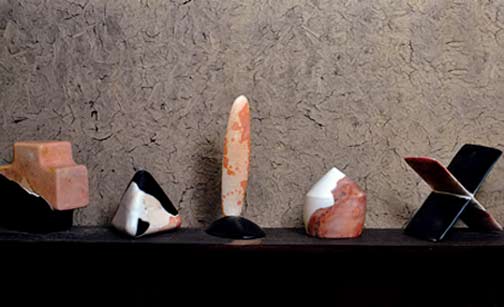
5 ceramic sculptures by Munemi Yorigami

Munemi Yorigami


ceramic abstract arrete-sculpture munemi-yorigami

Abstract ‘Arrete’ sculpture – Munemi Yorigami


munemi-yorigami-triangular shaped recreation sculpture

Triangular re-creation sculpture – Munemi Yorigami


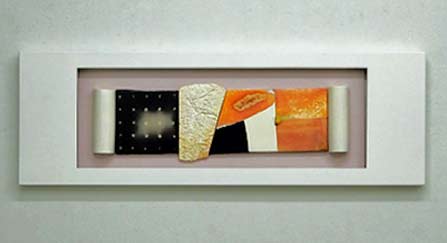
munemi-yorigami-wall-panels - three rectangular recreation sculptures

Re-creation Wall Panels – Munemi Yorigami


aya-kon-pot by Cheiko-Yorigami

‘Aya Kon Pot’ – Chieko Yorigami

Chieko Yorigami graduated in ceramics in 1968 and following an industrial ceramics course for a year, she studied for two years under Mr Junkichi Kumakura.


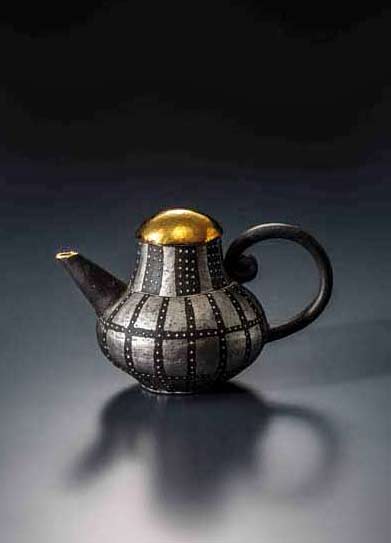
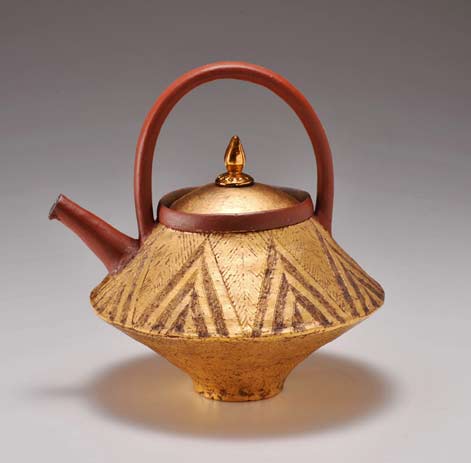
chieko--yorigami-teapot-in black,and sliver with a gold lid

Chieko Yorigami teapot


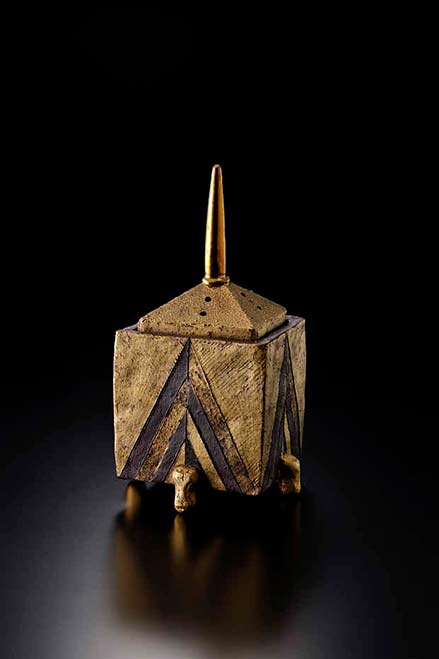
cheiko-yorigami-lidded-ceramic-box

Lidded ceramic box – Chieko Yorigami


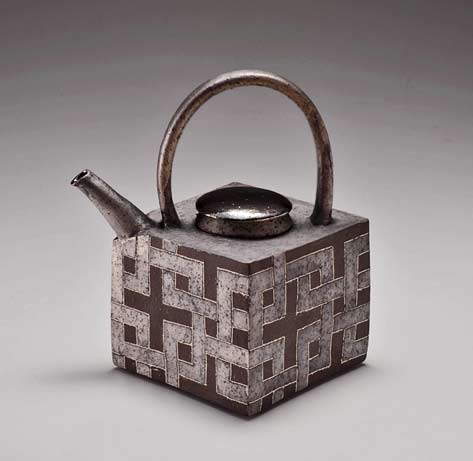
chieko-works-silver-color-dispenser

‘Silver color dispenser’ – Chieko Yorigami


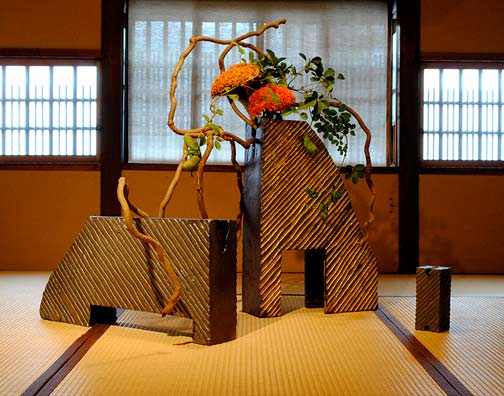
clever-writing-munemi-yorigami ikebana-sculpture display with two geometric ceramic pieces

‘Clever Writing’  – Munemi Yorigami


wall-of-red-munemi-yorigami - red, black, white sculpture

‘Wall of Red’ – Munemi Yorigami


cone-1-munemi-yorigami

‘Cone 1’ – Munemi Yorigami


flower-arrangement green--and-vase-munemi-yorigami

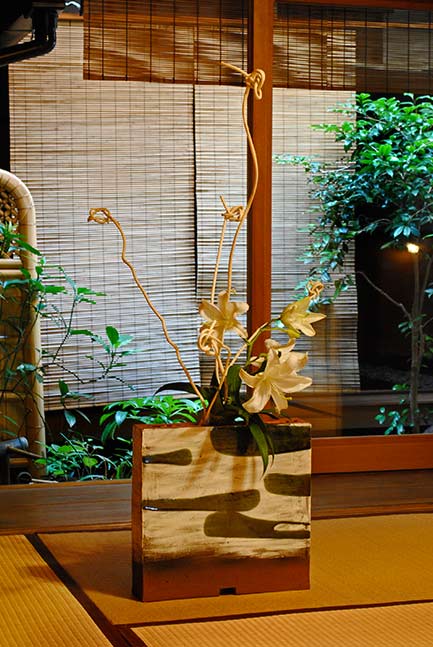
Square ceramic vase with ikebana display – Munemi Yorigami


flower-arrangement green-1-device

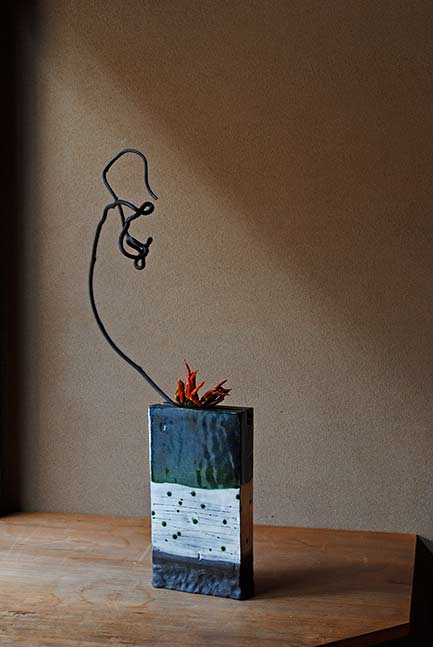
Ikebana vase with flower arrangement – Munemi Yorigami


form-of-old Munemi Yorigami-abstract sculpture

‘Form of old’  – Munemi Yorigami


god-sent-one-thousand-keiko-solo-Chieko-Yorigami

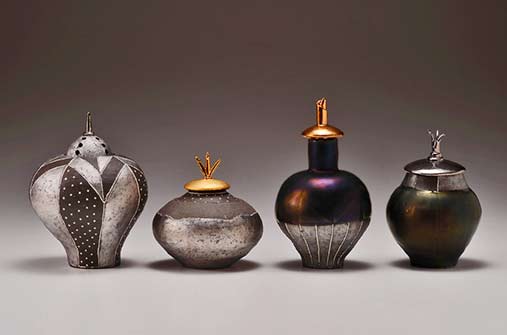
4 lidded vessels – Chieko Yorigami


gold-and-silver-aya-angle-platter-Cheiko Yorigami

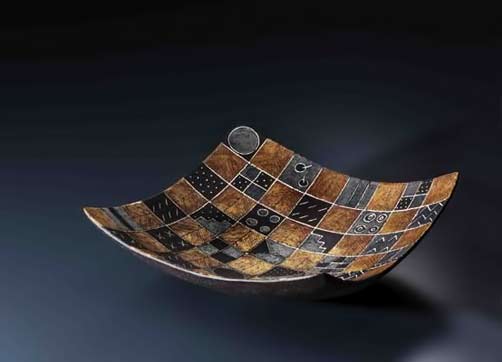
‘Gold and silver aya angle platter’ – Chieko Yorigami


hori0002times-people-munemi-yorigami

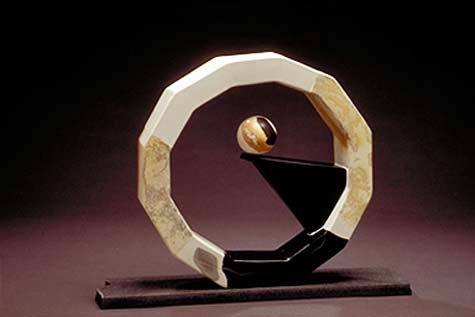
Balancing Ball sculpture -Munemi Yorigami


jin-choi-dispenser - Chieko Yorigami teapot with triangle motifs

‘Jin Choi dispenser’ – Chieko Yorigami


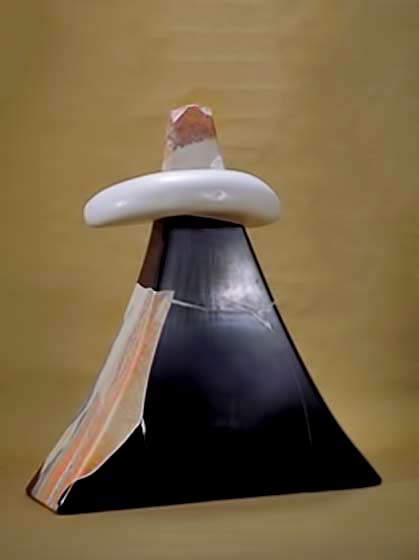
mount-munemi-yorigami-sculpture

‘Mount’ – Munemi Yorigami


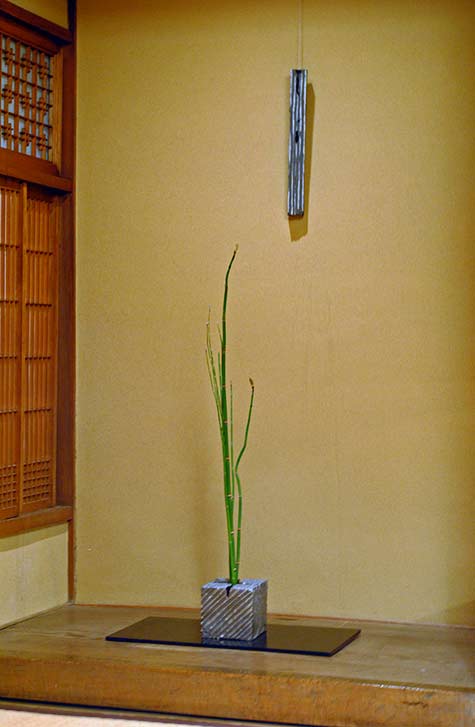
munemi-yorigami ikebana cube vase

Ikebana vase – Munemi Yorigami


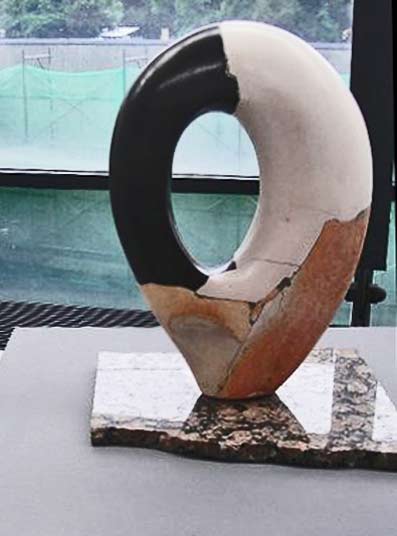
munemi-yorigami recreation ovoid sculpture on marble base

 Munemi Yorigami ceramic re-creation sculpture


munemi-yorigami conical sculpture

Conical recreation sculpture Munemi Yorigami


munemi-yorigami recreation biomorphic sculpture

Biomorphic re-creation sculpture – Munemi Yorigami


munemi-yorigami symmetrical V sculpture

Munemi Yorigami

“Objects That Preserve The Dignity of Space” 2013

Orie Gallery


munemi-yorigami-thick disc sculpture

Munemi Yorigami re-creation sculpture


munemi-yorigami-recreation sculpture

Munemi Yorigami


munemi-yorigami-oi

Munemi Yorigami


munemi-yorigami-recreations abtract sculptures

Munemi Yorigami


munemi-yorigami-999

Munemi Yorigami


munemi-yorigami-ceramic-egg-scuulpture artland-gallery-jp

Re-creation Egg Sculpture – Munemi Yorigami

artland-gallery.jp


munemi-yorigami-ceramic-vessel

Saki Vessel – Chieko Yorigami


munemi-yorigami-ceramic-wall-panel

Re-creation Wall Sculpture – Munemi Yorigami


munemi-yorigami-japanese-sculpture

Public Re-creation sculpture – Munemi Yorigami


munemi-yorigami-objects-that-preserve-the-dignity-of-space

Munemi Yorigami


munemi-yorigami-public-sculpture

Public Re-creation sculpture – Munemi Yorigami


munemi-yorigami-recreations-sculpture

Re-creation sculpture – Munemi Yorigami


munemi-yorigami-sculpture

 Re-creation sculpture – Munemi Yorigami


ovale-recreation sculpture - Munemi Yorigami

‘Ovale’  – Munemi Yorigami


re-creations-idaku-part-3 by - Munemi-Yorigami-

Re-creations Idaku part 3 –  Munemi Yorigami


re-creations-oh-yeah

‘Oh Yeah’ –  Munemi Yorigami


re-creations-ring-munemi-yorigami

‘Rings’ –  Munemi Yorigami


the-shape-of-the-pot-munemi-yorigami ceramic art

‘The Shape Of The Pot’  Munemi Yorigami


torso-in-hexagonal-Munemi- Yorigami Japanese ceramic sculpture

‘Torso In Hexagonal’ – Munemi- Yorigami


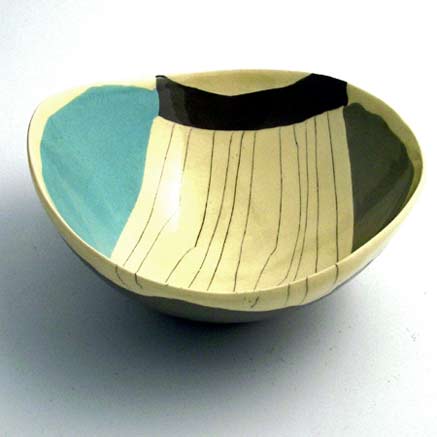
chieko-yorigami-ceramic-bowl

Chieko Yorigami

Aberystwyth University Ceramics Collection


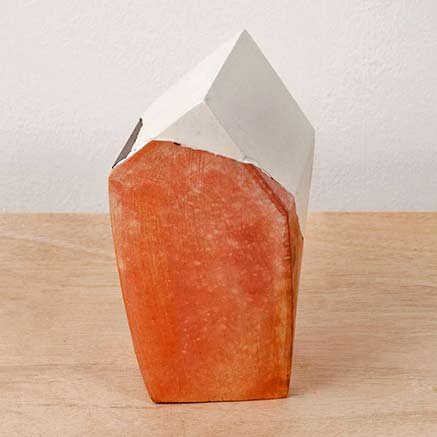
house-2-munemi-yorigami - contemporary Japanese ceramic srt

House 2 – Munemi Yorigami


pebble-cup-1992-porcelain-9cm-high-chieko-yorigami

‘Pebble Cup’ Chieko Yorigami

Porcelain 9cm high–1992


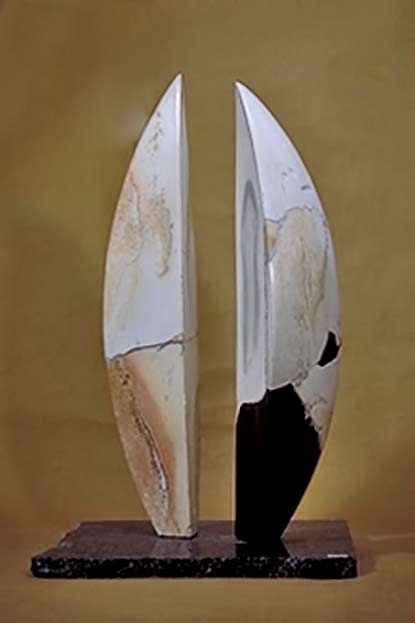
re-creations-%e5%8f%8c%e7%ab%8b-w28xh52xd12-recreation-sculpture-munemi-yorigami

Contemporary porcelain dual crescent sculpture – Munemi Yorigami


re-creations-idaku-part-1-munemi-yorigami

Re-Creations ‘Idaku part 1′ –  Munemi Yorigami


NEXT POST —  Aussie sculptural landscape


The Soluble Salt Ceramics of Mark Goudy and Liza Riddle


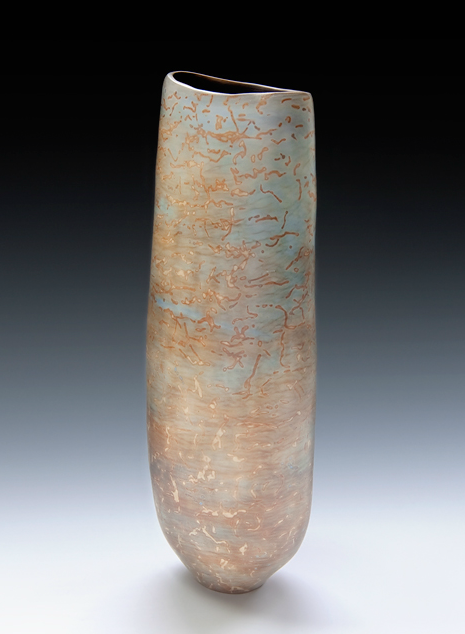
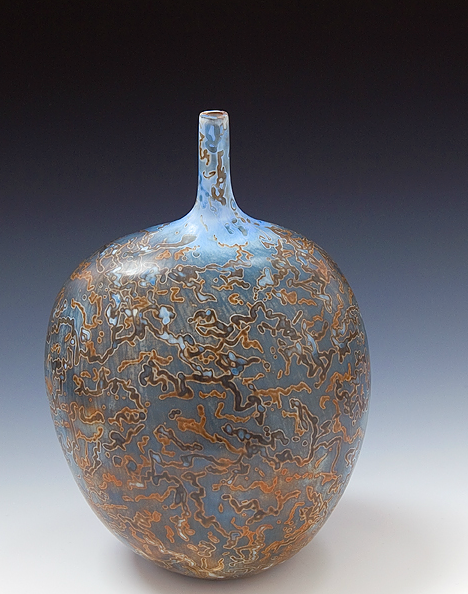
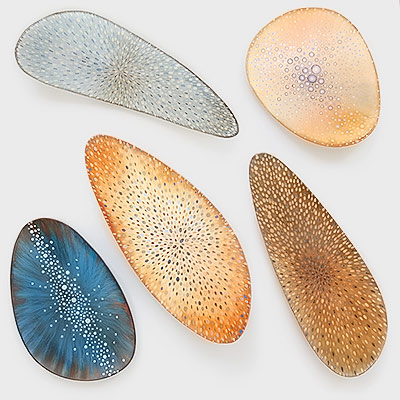
Mark Goudy and Liza Riddle are a couple from Berkeley, California who are blazing a new frontier in ceramic arts with their explorations into the applications of soluble metal salts.

I suppose it could almost be expected with backgrounds covering photography, biology, engineering, chemistry, music and graphics and a love of the outdoors that their work in ceramics would be organic, technical, innovative and experimental . Says Mark, “The process of working in clay is a grounding experience that focuses my attention in the present moment, but also is a tangible thread that connects across time with twenty thousand years of ceramists who preceded me.”


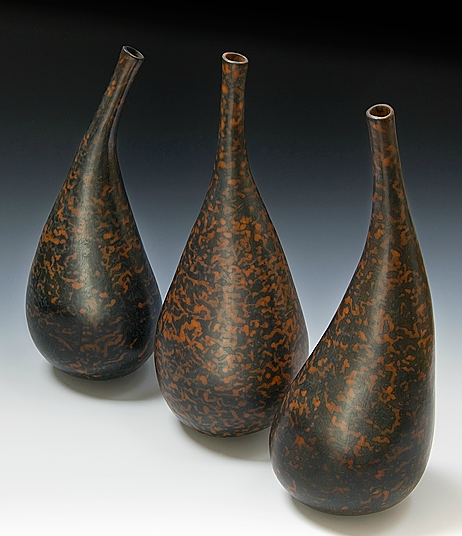
Liza Riddle Ceramic Bottle

Vessel v56 – Liza Riddle

Liza Riddle Ceramic Bottles

Liza Riddle

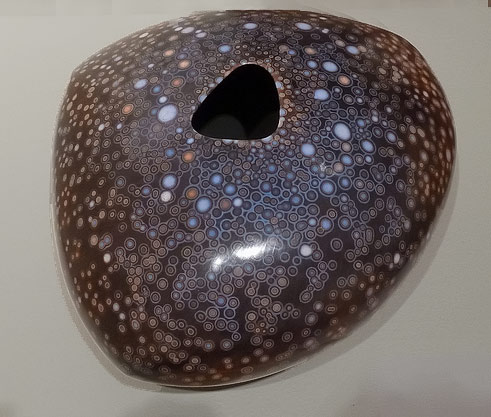
Mark Goudy Ceramic Sculptures

Mark Goudy

Mrak Gourdy Five Forms

Five Forms – Mark Goudy

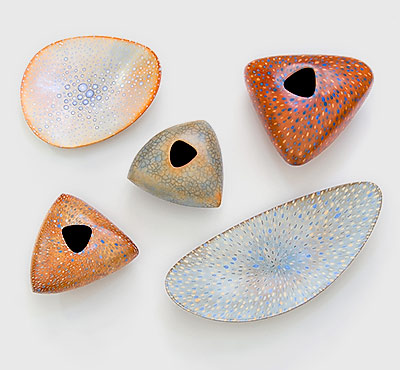
Mark Goudy’s approach :

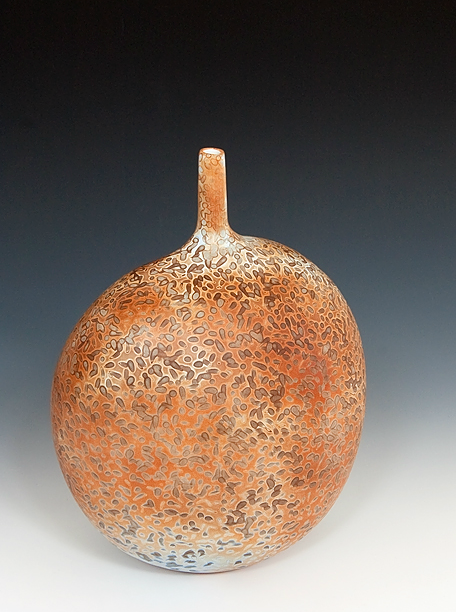
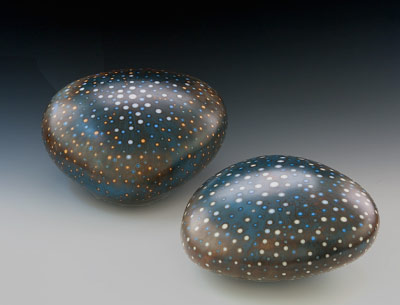
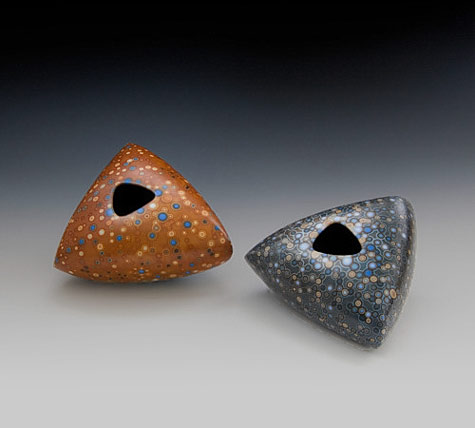
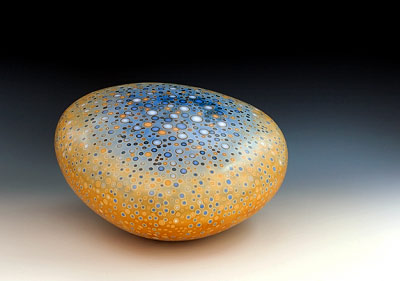
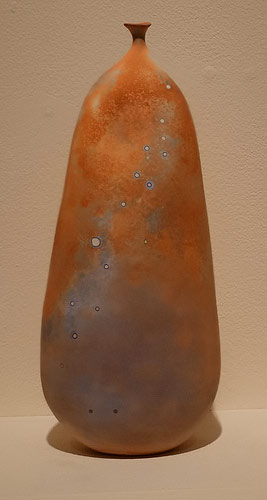
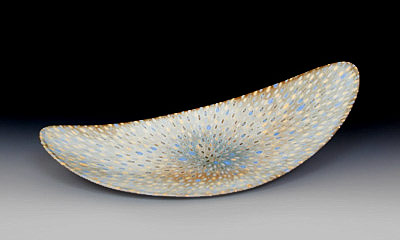
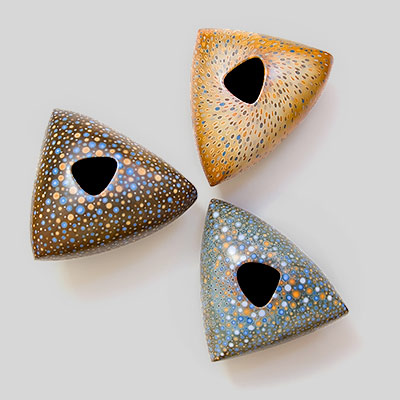
He described his signature technique in Ceramicsnow: “My work is an exploration in shape and pattern, using the enclosed vessel as the underlying form. These vessels are constructed from asymmetric curved surfaces that project a unique contour with each viewing angle. The interior space is intentionally hidden, leaving the contents to the imagination, metaphorically containing perhaps hopes, dreams, or spirits. These rounded shapes are meant to be held and, when set on a flat surface, gently rock before coming to rest at their own natural balance point.My approach is to combine ancient methods of stone-burnishing and earthenware firing with computer-aided shape design to produce talismans that fuse traditional and modern aesthetics. Surface markings are created by painting water-soluble metal salts on bisque-fired clay. These watercolors permeate the clay body, and become a permanent part of the surface when fired. “

” After a twenty-year engineering career, working in the virtual world of computer chip design, I found the process of clay work to be a catharsis. The physical nature of handbuilding unique pieces from this plastic medium was immediately satisfying. Soon I was applying my analytical and problem-solving skills to the multivariate issues that surfaced in the clay studio, and exercising my right brain to construct shapes in a totally intuitive way. “

In summing up his future direction , Mark said – One of my favorite quotes is from Johnny Cash who said, “Your style is a function of your limitations, more so than a function of your skills”, and this seems especially true with the processes I’m involved with. So far, my work has been largely vessel-based, but in future, I expect to branch out into some other areas.


To me the array of patterns in Mark Goudy’s ceramic pieces seem to encapsulate a mini cosmos, like staring into a clear night sky. So I wasn’t surprised to see Mark stating that his pieces remind him of mandalas, with their inherent meditative potential.

Mark Goudy Ceramic Art

Mark Goudy


Mark Goudy Ceramic Art

Mark Goudy


Liza Riddle’s approach :

” I seek to create work that evokes a sense of wonder and mystery, forms that beckon to be held and admired.  I delight in closely observing and then interpreting natural objects and events – weathered boulders on a mountain slope, wind ripples on a gray blue sea, complex designs on a delicate bird egg – their rhythms, patterns and forces have greatly inspired my work.  I am an avid traveler and hiker.  During my adventures I have discovered the magnificent pottery of ancient cultures in the American Southwest, South America, and Asia, which speak to me in very profound ways.”    

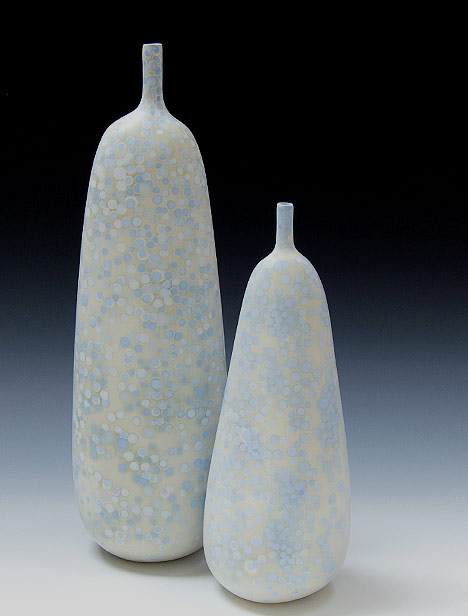
” I have been experimenting with soluble metal salts for the past two years, a collaboration with my husband, Mark Goudy, which draws on the inspirational work of the master of soluble metals, Arne Åse. Through trial and error, I have developed my own techniques for applying these almost transparent, highly sensitive “watercolors.” The chemicals are toxic and care must be taken while working with them, so my experiences working with photography chemicals and in a scientific laboratory have been extremely helpful. Although metal salts are challenging to work with, I love the sense of anticipation as I wait for a kiln load to finish firing, the joy of seeing their almost magical effects. Some results are disappointing, but I enjoy challenges. Because working with metal salts requires continual testing, inventing and learning, I am certain this project will keep me engaged for quite a long while. ”  [ ceramicsnow ]

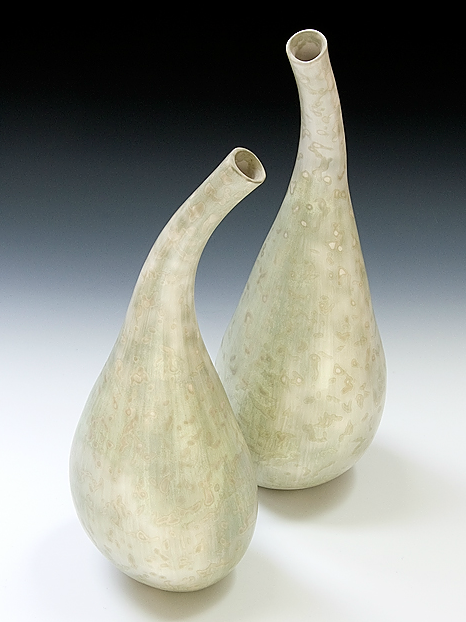
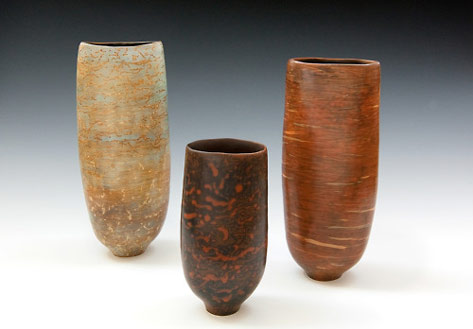
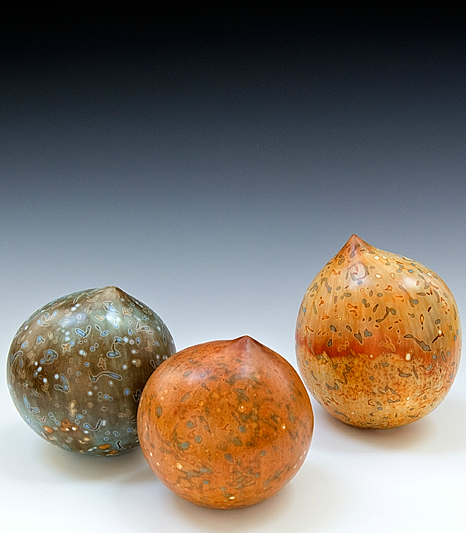
All of her work is hand coiled, then carefully burnished to a smooth finish.  This is followed with  bisque firing the clay at earthenware temperatures, painting them with water soluble metals – iron, nickel, cobalt and other salts, and firing again at low temperatures.

Liza Riddle Ceramic Bottles

Two Vessels  (v85, v86) – Liza Riddle

Liza Riddle Vase

Liza Riddle

Vessel v61 – Liza Riddle

Mark Goudy Five Surfaces

Five Surfaces –  Mark Goudy

Mark Goudy Soluble Metal Salt glaze

Mark Goudy

Liza Riddle 3 bottles

Three Vessels – Liza Riddle

Liza Riddle

Liza Riddle 3 Vases

Three Vases – Liza Riddle

Mark Goudy

Mark Goudy 3 sculptures

Three Vessels – Mark Goudy

Liza Riddle

Website of Mark Goudy/Liza Riddle  : http://www.thundercloudstudio.com/


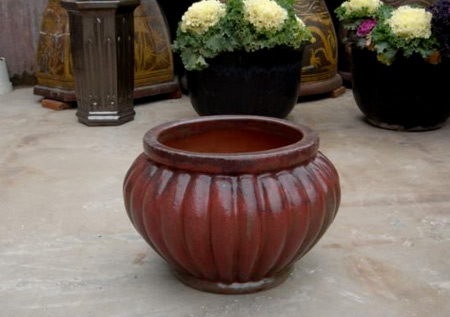
Creasing and Fluting pottery

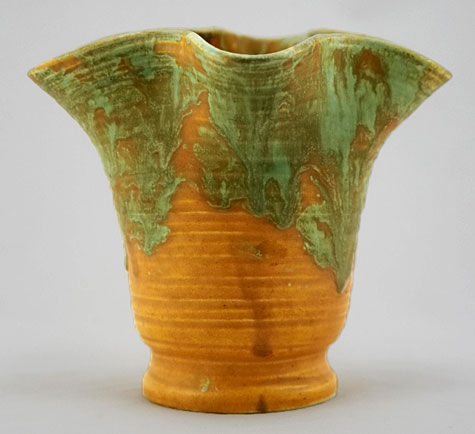
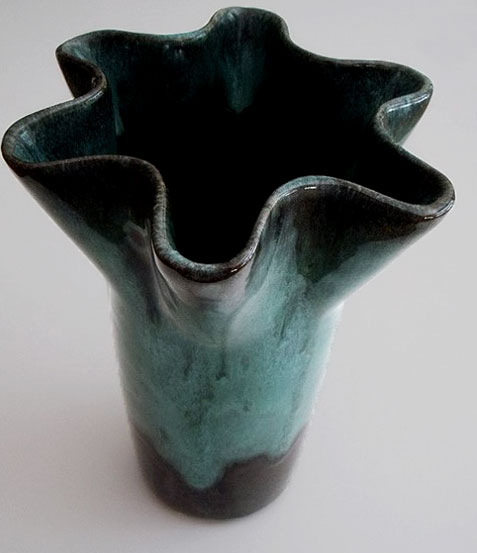
Fluted flower pot


David Voorhees shows: How to crease a vase 2011.


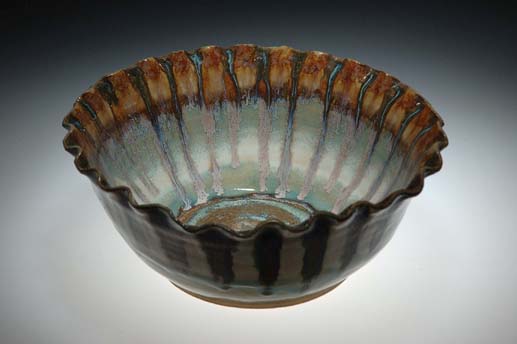
Simon Leach – fluting a bowl


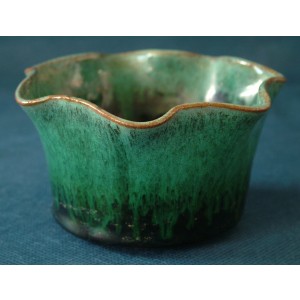
Green Fluted Bowl – Ian Drummond

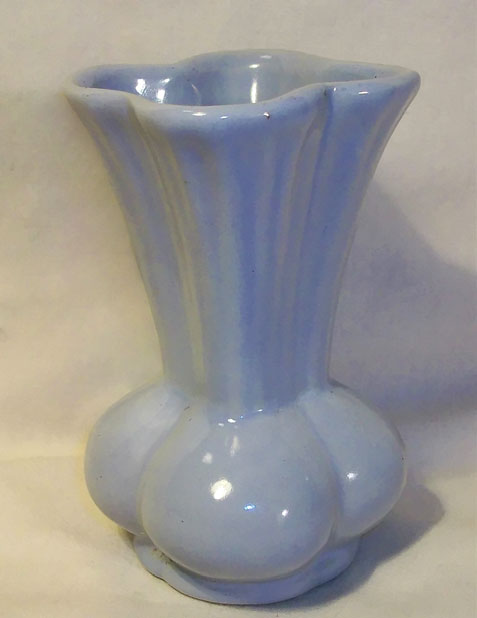
Van Briggle fluted top mulberry and blue vase ( 1920’s )

Fluted Serving Bowl -pottery by kate

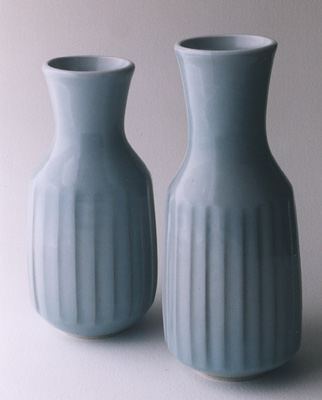
Celadon Blue Vases –  Barry Singleton

Vintage-1940-Niloak-Pottery

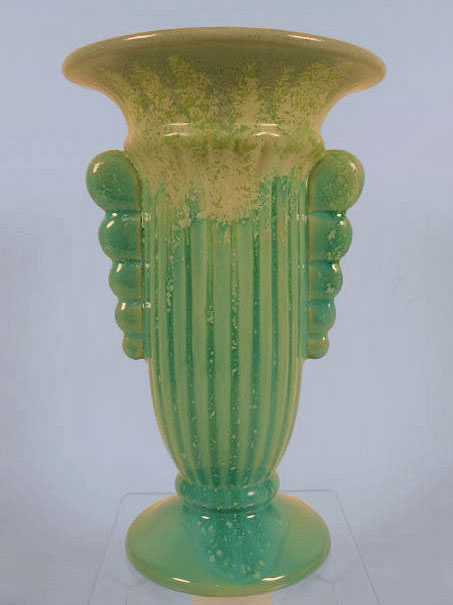
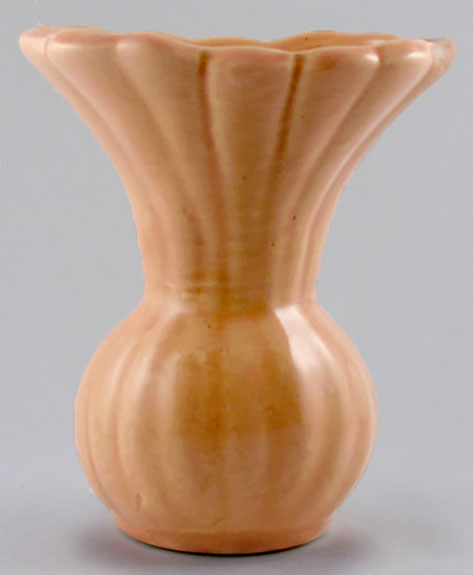
Camark ribbed and fluted vase.

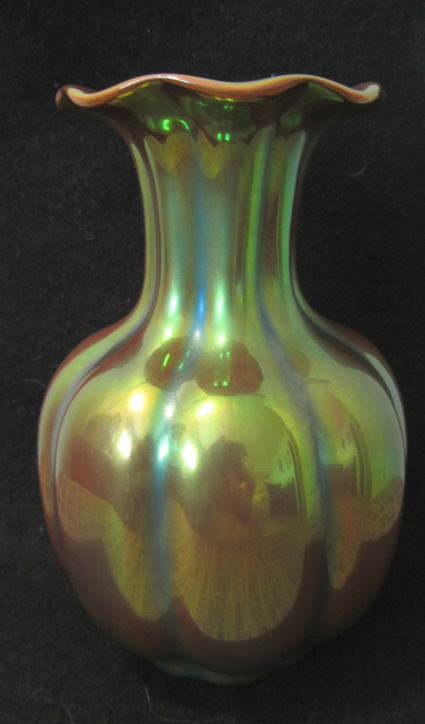
ZSOLNAY Pecs. Rare Fluted EOSIN Vase

ZSOLNAY.Pecs..Rare Fluted EOSIN Vase Flowing Art Deco Design

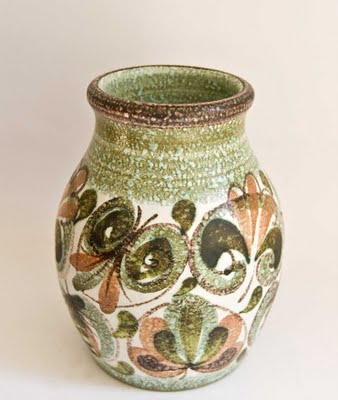
Woburn Pottery

Art Deco BELGIUM Vintage Vase

Belgium Art Deco Vintage Vase

vintage-Evangeline-vase

Evangeline-vase.

1930-40s-Brush-McCoy

Vase 1930-40s Brush McCoy


Developing Great Post Reduction Effects on Your Raku Pottery with Peel Away Slip

by Belgium potter Wally Asselberghs .
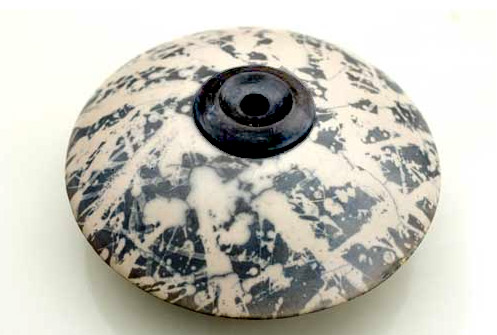

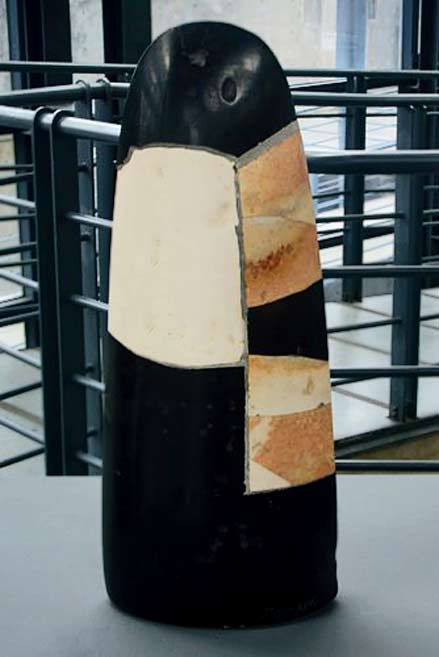
A finished naked raku fired piece by Wally Asselbergh, showing the variety of grays and blacks he achieves through the use of both diluted and thick glaze and varied application methods over the base resist slip.

Slip-resist raku (also referred to as “peel-away slip” and “naked raku”) is a raku technique in which a slip, which is is formulated to not permanently stick to the surface, is applied to a bisque fired piece before the raku firing. During the firing, the slip shrinks and cracks and breaks away from the piece allowing interesting and irregular smoking patterns to develop from the post firing reduction.

In today’s post, an excerpt from the May/June 2011 issue of Pottery Making Illustrated, Wally Asselberghs explains his techniques for using slip resist to decorate his pottery. He also shares the slip and glaze recipes he uses in this process.

Remember, as with any firing process, especially those that involve an open flame, you should wear protective clothing and exercise all fire-safety precautions. -Jennifer Harnetty, editor.


I fell in love with naked raku in 1995 while attending a workshop on primitive firing techniques by Dutch potter Margot Spiegel Kramer. This was a crucial moment in my life with clay, which at that point seemed to be blocked in a dead-end street. It soon became obvious that this new discovery evolved into a turning point for my ceramic work. New forms started to interact with previously unknown methods of treating my surfaces, painting the canvasses of my forms with fire and smoke.

The balance between maximum possible control of the firing process and the surrender to the fire, and the combination of the expected and unexpected originally attracted me to naked raku. Now, many years later, discoveries and variations keep opening up, allowing me to explore new paths that were previously hidden.

Artistic Perspective

In my organic objects, I try to find a visual language in which my favorite forms (animal, human body, rocks) are reduced to their simplest essence and purity, exhibiting marks as if left by forces of wind and water. On another but equal level, the surfaces of these forms are treated like a canvas. The viewer’s eye meanders between white spaces and black marks left by the fire and reduction techniques of the naked raku process.

Technique

For my clay body, I use commercial cone 10 stoneware clays for black-and-white objects, and low-temperature red earthenware clays for black-and-orange pieces. Both the stoneware and earthenware contain at least 15 to 20 percent fine grog. Most of my objects are constructed with coils.

To obtain smooth surfaces, I’ve always preferred burnishing, as this method gives me the kind of satin matt subtle shine and depth-of-view that I’m looking for. My burnishing tools include credit cards, light bulbs of various sizes and forms, and flat burnishing stones for the final finish.

The Slip Layer

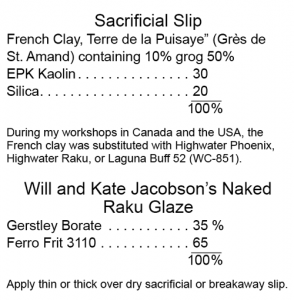
I use a sacrificial layer of slip as a separation between the bisque and the glaze. After the firing, this layer can be peeled away, revealing the pattern on the surface of the pot. The sacrificial slip can be brushed, sprayed, dipped, or poured. Each method has its pros and cons. Differences in application all influence the thickness of the separation layer.
Slip Layer
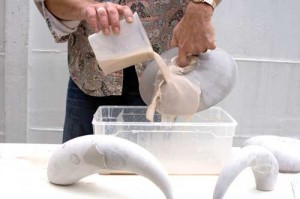
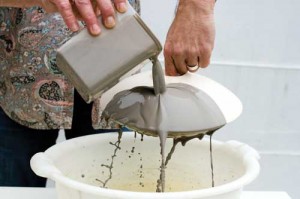
Pouring has always been my personal favorite application method because it gives me the best possible control over the correct thickness, and the application also goes very fast. If the form allows a good grip, this pouring can be done in one single movement, turning the object from extreme left to extreme right with one hand, while pouring the slip with the other hand (figure 1).


The Glaze LayerFor the glaze, my best results have always been obtained with the “classic recipe” formulated by Will and Kate Jacobson

Full glaze layer

The application of a full glaze layer over the slip (figure 2) results in a uniform crackle patterned surface. While this can be perfect for some forms, others may need more. A wide spectrum of other methods for partial glazing can be applied, resulting in a more varied surface. The methods you develop will depend on the results you want. Pouring, masking tape patterns, wax resist, latex, etc., all allow full control over the design.

In addition to using brushes for painting glaze on top of the slip layer, they can also be used to actually splash, flick or spatter the glaze onto the pot from a distance, without the hairs of the brush touching the surface (figure 3). This has grown into one of my preferred techniques. Best results are obtained with a very thick glaze. Large brushes create large areas, while very thin brushes can create fine lines. The amount of glaze on the brush strongly influences the result, as well as the force of the wrist when brushes are shaken to release their load of glaze.
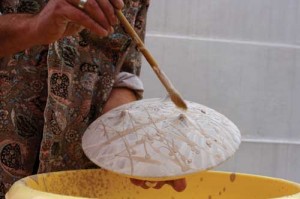
Full glaze layer

While experimenting, splashing on thinner glaze on slipped test-tiles, I discovered that I was obtaining grayish surfaces. I then started fine-tuning and developing this process by making multiple batches of glaze with increasing amounts of water added to the basic mixture. Different bottles, each containing 100 grams of dry materials, were filled with water quantities of 200g, 250g, 300g, and so on, up to 450g. When applied and fired, these diluted glazes created a very interesting and diverse palette of light and dark grays in between the whites and blacks.

When working with these thinned glazes, I often overlap poured areas and apply splashed thick glaze with fine brushes on top of this to create wild patterns. A serious drawback to this method is that the slip tends to carbonize very heavily during the firing, and needs a long soak in water followed by a lot of scrubbing to remove. The eggshell-thin glaze layer will also be nearly invisible, which makes it more difficult to judge the correct temperature by eyesight at the end of the firing.

Note: A very specific feature of naked raku pots are little “black dots” on the fired surface. They usually enhance the total picture, but an overload can be too much. The dots are caused by air bubbles, either in the slip or the glaze. Larger air bubbles can be paddled to the side in the slip or glaze container, but smaller ones may remain unnoticed. When using a drill or a paint mixer to prepare or mix up the buckets, microscopic air bubbles are created. In this case the mixture should be allowed to settle for 24 hours then remixed with a wooden stick before use.

Dust also contributes to the appearance of dots by keeping the slip from properly adhering to the surface of the pot. If you’re trying to minimize the dots, clean the bisque ware with forced air and then with a damp sponge prior to applying the slip.

Kilns

During numerous workshops, I’ve been able to experiment with a wide variety of raku kilns, ranging from huge furnaces to small garbage-can kilns. One of my all-time favorite kiln types is a refurbished old electric kiln. Removing the elements and electric wirings, and cutting a burner hole and a flue exit is all it takes to make a very cheap and dependable kiln.

At home I also have a top-loader kiln based on an empty 200 liter drum, lined with 2 layers of 2-inch thick low-temp ceramic fiber. Before buying a Ward burner, I have fired this kiln for years with a simple and cheap weed burner, the type also used by roof workers, which also gave excellent, if noisy, results.

Firing

As with standard raku, preheating is also very important for firing naked raku. Though moist objects can be preheated slowly in the first kiln load with a minimal risk of breakage, any consecutive firing schedule makes preheating absolutely necessary. Even if dried in the sun, some moisture will always remain in the bisque ware, quickly changing into steam when placed in a red-hot kiln, causing explosions.
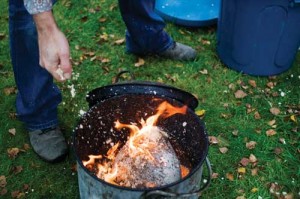
Raku firing

During workshops, when the size of objects is usually quite small, I use 2 different methods, depending on the material available, and expected weather conditions. The easiest way to preheat is to use a large electric kiln, positioned to maintain a constant temperature of 100°C (210°F) and preheat the bisqued objects for 20 minutes. If no electric kiln is available on site, I use one or more large barbecue grills, aiming for a 20 to 30 minute drying schedule, depending on size and thickness. Once the piece is dry, fire it to the temperature required for the glaze to reach an orange-peel texture. Remove the piece from the kiln using raku tongs (figure 4).
Post Firing Reduction

In standard Western raku, objects are sometimes buried in massive quantities of fine sawdust. For naked raku, the use of sawdust generally results in excessive reduction, especially when using diluted glazes. For best results, my favorite reduction materials are curly wood shavings or very thin wood chips. One good handful, sprinkled on top of the pot, is usually more than sufficient (figure 5).
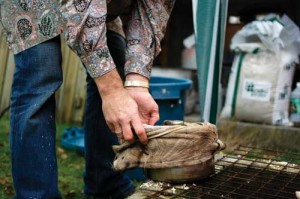
There are many theories about how long objects should stay inside the smoke bins, but I experienced that the time interval is rather flexible. In general, 5 to 6 minutes are considered to be a minimum, as most of the reduction process generally takes place within this time frame. During workshops, and for my own work, I generally leave them in for 10 to 12 minutes. The extra time assures a complete reduction and, as objects continue to cool down, also reduces the risk of cracks appearing.For larger monumental work, or fragile objects constructed with plates or slabs, it’s safer to go for 20 or 30 minutes, or even up to one hour. However, the drawback is that prolonged smoking may change the color of some clays from white to buff, or even light gray. Regardless of the time frame, cover the reduction chamber with a lid, and wrap a wet towel around it to keep the smoke from escaping (figure 6)
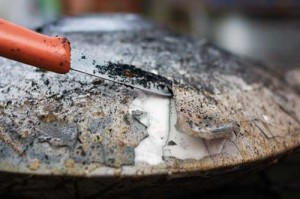
Removing glaze layer

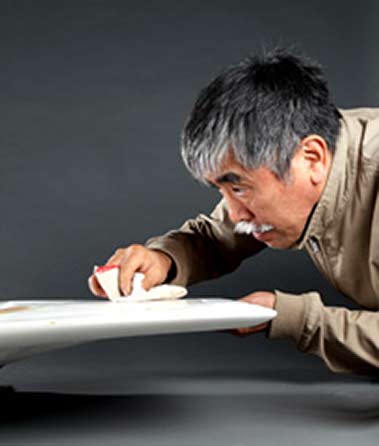
After firing, begin to remove the eggshell-like layer of glaze (figure 7). All objects need additional scrubbing, using plenty of water, to remove all traces from the firing, and residual fragments of the remaining slip and glaze layers. When using diluted or splashed glazes, some areas may be very hard to remove, and should be soaked in water for many hours, sometimes overnight.

Conclusion

Most of the forms and canvases of my sculptural ceramics relate to changes. Some works relate to the moment that water changes into ice, or starts to evaporate into steam. Others try to capture the nanosecond when a plane is shivering between air and soil, or try to evoke a build-up of pressure, that precious moment just before an explosion renders a piece into shattered fragments.

Life has always been about changes. If that is true about life, that is, to me, what my ceramics are about. Like the alchemist in medieval times, I try to manipulate the untamed metamorphosis during the process of firingceramic materials into another dimension, the ultimate amalgamate of substance and dreams of mankind.

                       Raku slip and glaze recipies :
                         Final result

Wally Asselberghs lives and works in Schoten, Belgium. He presents workshops on Naked Raku techniques internationally. To see more of his work or for contact information, visit www.wallyasselberghs.be.


This article was excerpted from Pottery Making Illustrated magazine’s May/June 2011 issue.


Fine Bone China

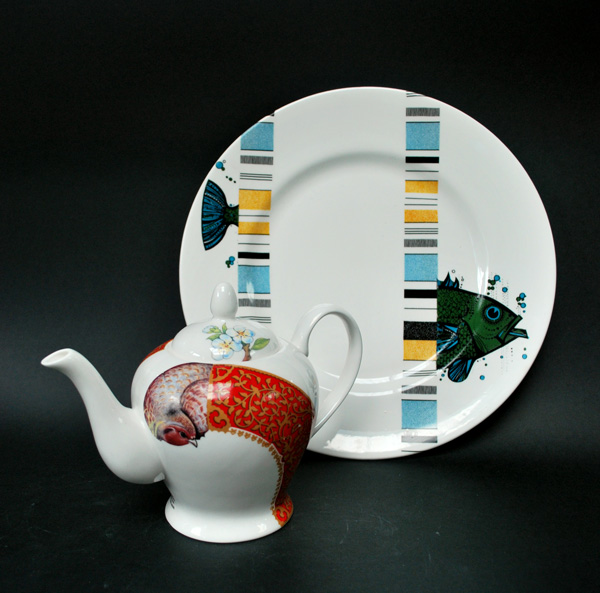
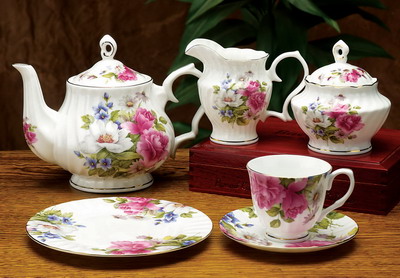
fiskplate and teapot fine bone china

England-Rose-Teaset-Fine-Bone-China

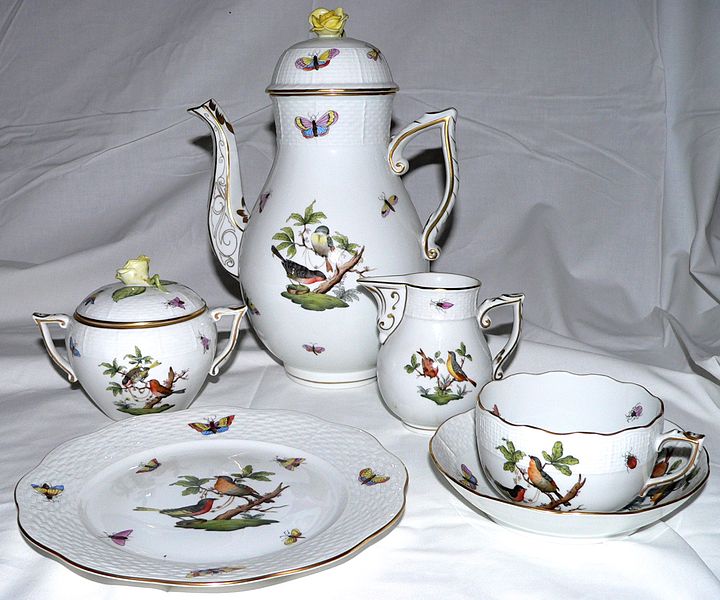
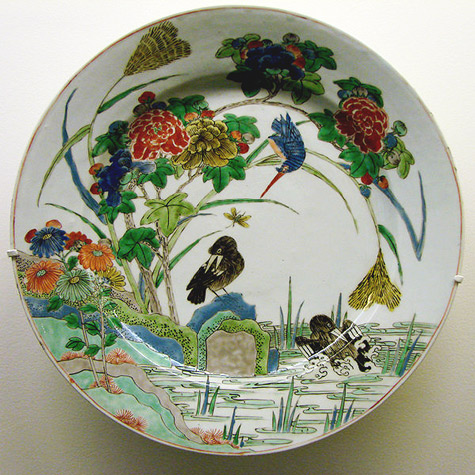
Chinese Porcelain FiguresBack in the 7th century porcelain was invented in China and porcelain art from China began appearing in Europe in the 13th century.  It took European craftsmen centuries to figure out how to make it. The secret was the high temperature at which the Chinese artisans fired the clay–up to 1,300 degrees Celsius. In 1710, German artisans began producing high-quality porcelain. In England, Thomas Briand of Chelsea developed soft-paste porcelain in 1742. Thomas Frye patented porcelain containing bone ash in 1749 and Josiah Spode in Staffordshire refined the recipe for fine bone china between 1789 and 1793 and this invention resulted in the fine bone china products produced then and now.His formula, which consisted of 6 parts bone ash, 4 parts china stone, and 3.5 parts clay found popularity among English pottery manufacturers and was widely distributed.

The best china has always been the thinnest and most refined. Bone china ware is very thin and very refined, yet is the toughest of porcelains. Production usually involves a two stage firing where the first, bisque, is without a glaze giving a translucent product (1200C-1300C ) and then there is a second glaze (or glost) firing at a lower temperature (1050C-1100C)

Blue-and-white porcelain from China was so prized in the Renaissance that a number of princes attempted to discover the secrets of producing this rare, exotic, and expensive material. Only in Florence, under the patronage of Grand Duke Francesco I de’ Medici, himself an experimental chemist, did alchemists succeed in developing an “artificial” or soft-paste porcelain. Because the Medici factory was continually experimenting with its ceramic recipe and glaze, its wares were thicker than true hard-paste porcelain from Asia and covered with a rather cloudy, bubble-pitted glaze.French porcelain

  • Bone china is produced much like porcelain. Because of its lower plasticity, however, more care is required in its production than with other types of porcelain production. The china stone is added to give the unfired body the plasticity it needs to allow for shaping of the material. The process and materials are typically more expensive, thus the reason for the expense of bone china.

The standard English formula for fine bone china is 25 percent china clay, 25 percent Cornish stone and 50 percent bone ash. The presence of bone ash in the porcelain led to bone china being strong, translucent, and exceptionally white. The clay body was of the best quality, very dense and less prone to chipping. The bone ash came from animal bones  heated  to about 1,000 degrees Celsius. This sterilizesd the bones and turned them to ash which was then grinded  finely and added with water before mixing it with the other materials.
The area of Staffordshire went on to develop a long  proud history. During the Industrial Revolution, the area around Stoke on Trent became known as “The Potteries” as names like Wedgwood, Moorcroft, Gladstone and Royal Doulton gave Staffordshire Pottery a well earned reputation for top quality ceramics and china and was recognized as  as the original source of fine bone china .Over the centuries more than 1,500 china manufacturers have operated in the area, some for more than 200 years.
English bone china is highly collectible and often begins with pieces passed through generations. While new fine porcelain can be purchased and added to collections, many avid collectors go to flea markets and yard sales looking for treasured finds to add to their collections. Bone china can often be identified by its translucency when held up to light.

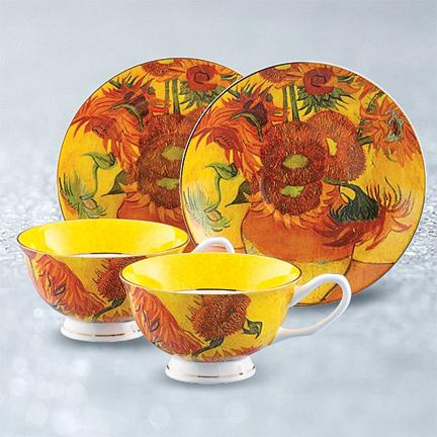
Rob McIntoshMcIntosh® 'Sunflowers' Fine Bone China Cup and Saucer Set

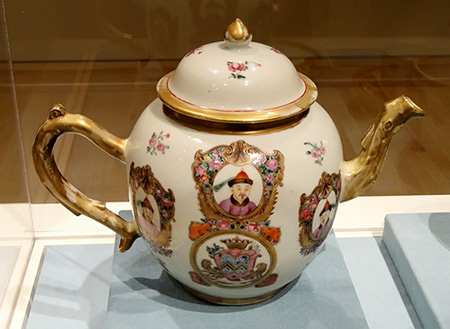
Porcelain teapot

Chinese porcelain Teapot Qing-Dynasty

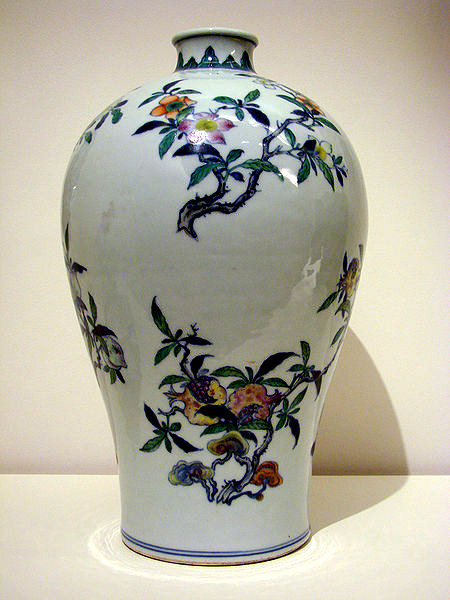
Chinese Porcelain Vase

Wedgewood Tonquin dinner plate

Wedgwood Tonquin dinner plate

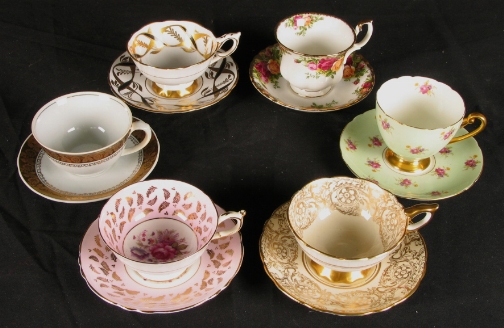
Fine-bone-china-cup-and-saucer-collection

 Fine-bone-china-cup-and-saucer-collection

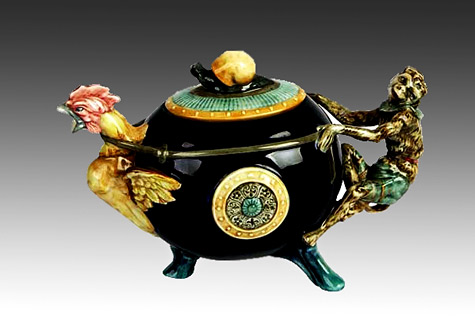
Royal Doulton Tea Pot

Royal Doulton fine bone china novelty teapot, ‘The Cockerel & Monkey’

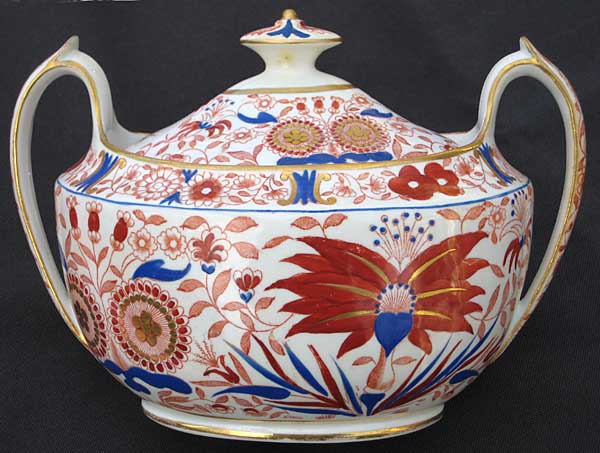
HJicks and Meigh oval sugar bowl

Hicks-and-Meigh oval-sugar-bowl

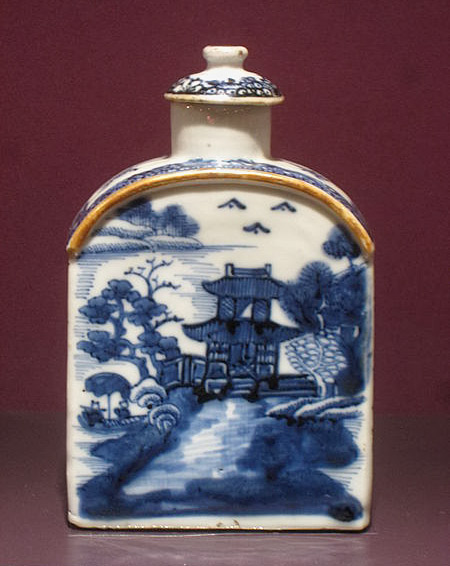
Chinese Porcelain Tea Cannister

Tea canister, porcelain with underglaze blue; Chinese, 1790-1810. Pottery exhibited in the DAR Museum


Drying Pottery

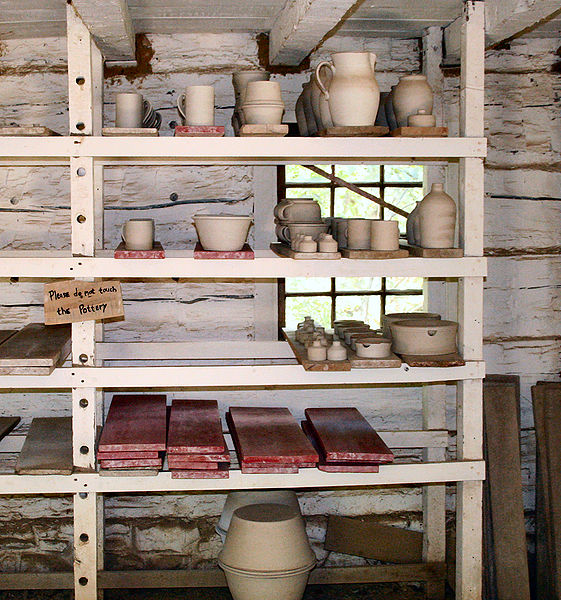
General guidelines for drying pottery:

– Even, slow drying is preferred
– Pottery should be bone dry before attempting any firing. Any presence of moisture will increase the likelehood of cracking.
– hunid air flow is ideal because it adheres to the surface more evenly , especially the recessed areas. This can be achieved by enclosing a section of the studio/plant with plastic to create a humidity chamber, the wet ware creating a naturally humid enviroment.  With smalll scale operations, covering the ware racks with cloth or plastic is a viable option.
-Make sure pots are positioned so ther air circulates freely around them.
-Depending on the style  of piece being dried ( eg. complex shapes ), the placement , air flow adjustment and covering of fast drying areas with wax,  all support eveness of drying.
-it can take several days for ware to dry  in a natural enviroment( 2 days for a dessert bowl )
– If you don’t have a +100°C drying chamber, your kiln is the final stage batch drier. The addition of air flow to remove excess moisture could be considered. This can be achieved with a venting system.
–  A consant air flow  is needed  along with tuning the humidity by adjusting the dry air rate in and the humid airflow out. Otherwise , slower drying in a humidity chamber is an acceptable alternative.
– Due to its higher density, you cannot expect porcelain to dry as well as stoneware or earthenware.
-Pots made in one piece may be dried more quickly, but should be turned upside down if possible as soon  as they have hardened a bit. If they can’t be turned upside down, set them on a drywall ( sheetrock, gypsum board, wall board ) or plaster to allow their bottoms to dry evenly.
-Handle bone dry pieces carefully as the have a tendancy to crack easily due to their brittleness prior to firing.
– If a piece looks dry but is cool to the touch this sometimes indicates it is still moist and continued evaporation is needed.

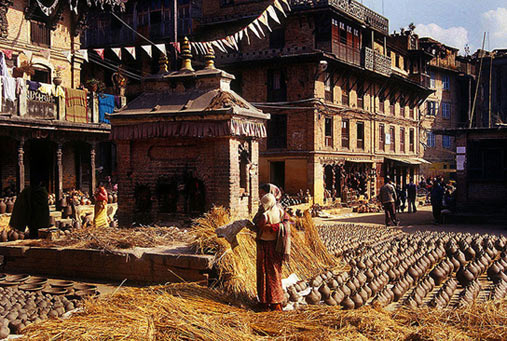
Nepal market
Green Vase
Nazla, Egypt — A potter at work in the village of Nazla, an Egyptian village in the Fayyum known for its pottery. — Image
drying pottery


Salt Glazing

3040133175_891c0fca29

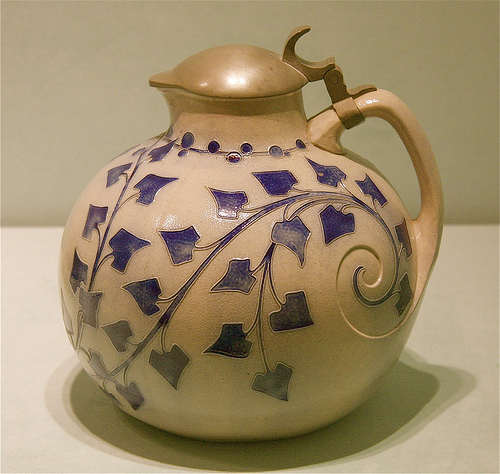
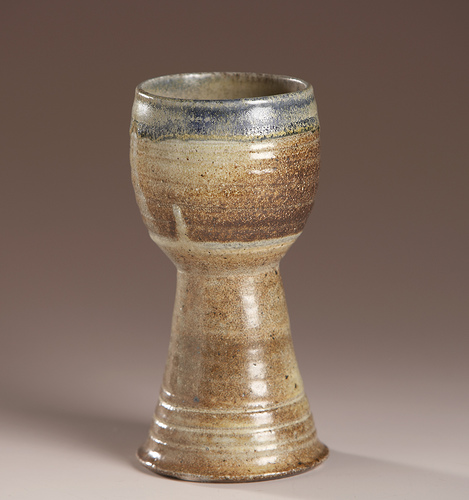
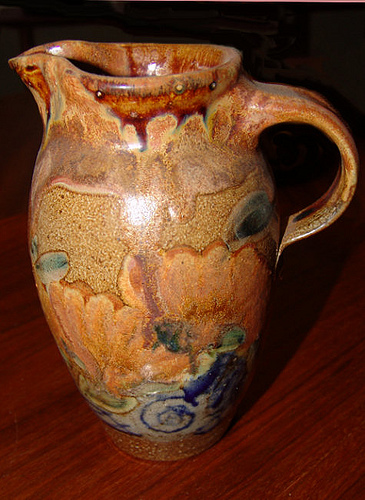
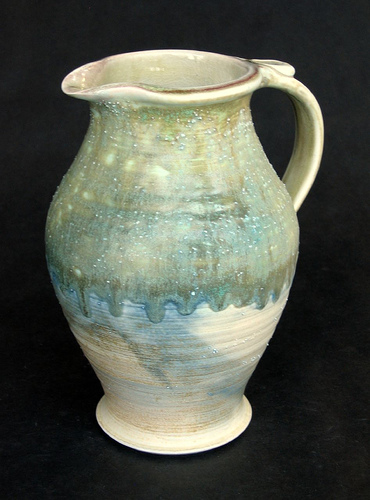
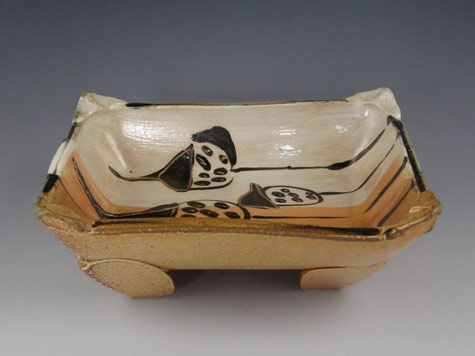
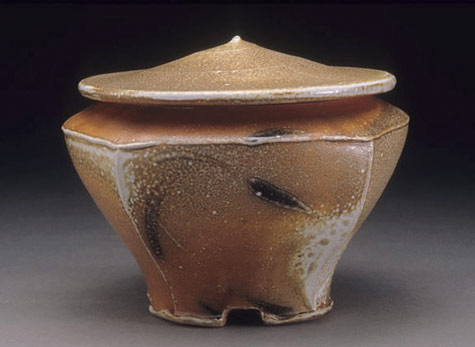
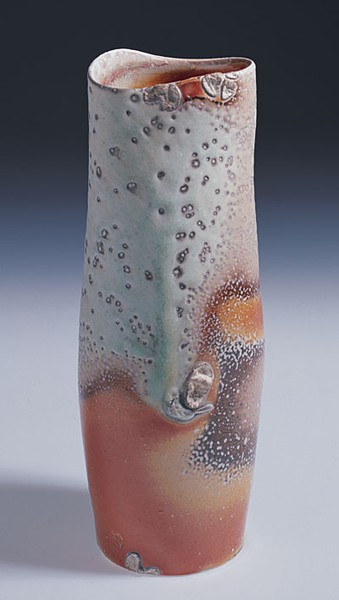
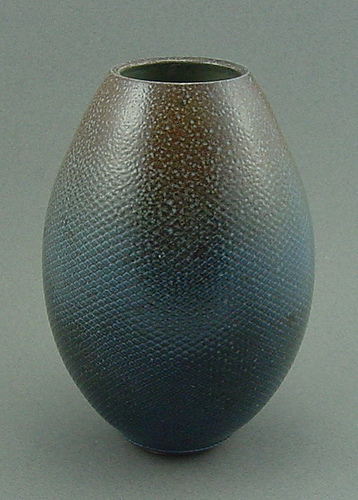
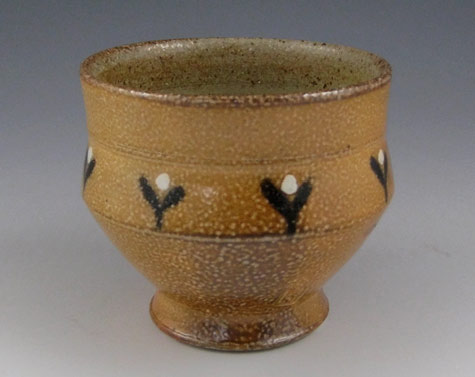
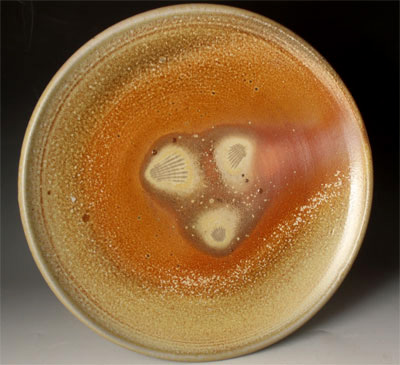
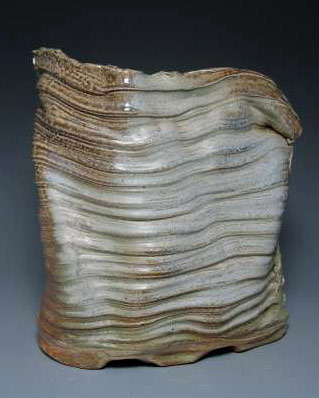
The style of pottery referred to as salt glazed or salted is created by adding common salt, into the chamber of a hot kiln.  When kiln temperatures reach the melting point of common salt, approximately 900 C (1660 degrees °F), granulated or rock salt can be introduced into a kiln through peepholes or other openings. It vaporizes and combines with the silica and alumina in the clay to form the glaze on the surface of everthing it touches in the kiln during the firing.  This results in a surface blush of colour formed on the ware body. At higher temperatures, over 1280°C (2350°F), the salt fumes have a remakable effect on clay under heat.

The unique characteristics of salt glazing were discovered in Germany  in the 14th century.  As many things go, it was most likely come upon by accident. Perhaps some salt soaked wood (from pickling barrels?) was tossed into the kiln for the wood fuel. The salt vaporized and glazed the pieces inside the kiln. It was a great time saving measure. No need to glaze the pieces before they went into the kiln. Initially, the process was used on low fire earthenware and later was adapted to salt glazed stoneware ( 15th century )  Salt fired glazing is still widely used today and there are numerous commercial enterprises using the method.  Salt glazes usually can be recognized by the “orange peel effect ” which gives the ware a pebbly, glossy,  glazed surface.

.

Not unlike Raku, salt glazes are somewhat unpredictable, but that is part of the charm of employing this method , which sometimes delivers extraordinary results. Salt glazed ceramics are fired to temperatures of Cone10 ( 2381 F ), are extremely durable and can be used safely with food and beverages.

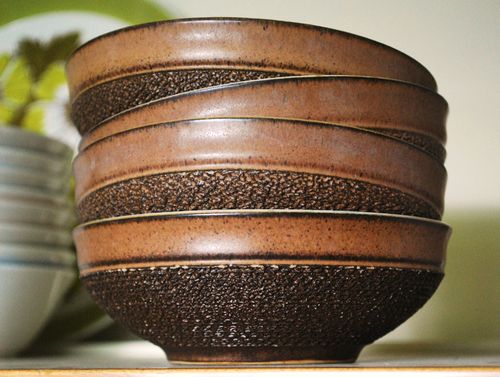
The English company Denby Pottery,  is  still in production after 200 years and used  salt glazing techniques to manufacture durable kitchenware and decorative pieces to great effect.

Due to the corrosive nature of salt , they aren’t really suitable for metal kilns and really require a kiln with non-corrosive surfaces. The myriad of parameters that influence the outcome of this process sometimes makes it impossible to duplicate results. Don’t place the ware directly on the kiln surface because it will fuse .

There are numerous recepies for the salt mix and the  technique definitely lends itself to creative experimentation. Happy firing.

3333584111_9798234d522638039078_5293770b76

ceramics sacramento ca

” Morning Ritual “

Wood Fired Paul McCoy Salt Glazed Mugs

Salt glaze jug

Salt Glaze Pitcher

Suze Lindsay salt glaze slab dish ( shambhala pottery )

Linda-McFarling

Image -Ceramic Arts Daily

Blue/green stoneware

Jason Bloom – site here

Stoneware with blue engobe sprayed over resist. Salt-fired to cone 10 in reduction.

Kyle Carpenter Salt Fired Cup

(  shambhala pottery )


Karen Winograde salt glazed plate

 Karen Winograde  salt glazed plate

K.Winograde Salt Glazed Vase

 Karen Winograde salt glazed stoneware vase

Salt Glazed bowls

Denby Potters Wheel series

Denby ” Potters Wheel ” series

Glynbourne Vase Glynbourne Vase

Karen Winograde Salt Glazed Vases

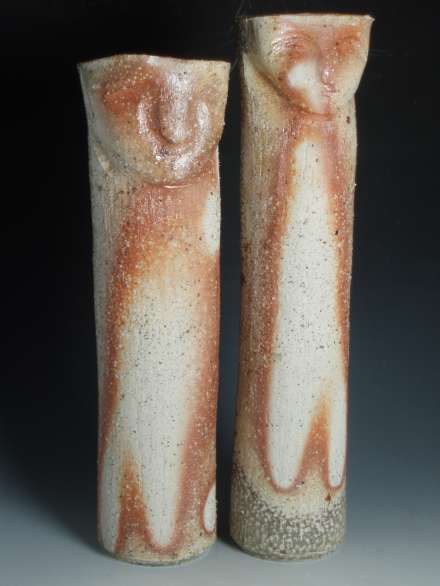
 K. Winograde  Mirror Image Face Vases { Salt Glazed Tumble Stacked Kaolin }

Cathi Jefferson salt glazed cup.

(  shambhala pottery )